download AutoCAD P&ID 2017 Essential Video Training DVD for users
Link download AutoCAD P&ID 2017 Essential video tutorials for students and engineer

AutoCAD PID Essential video tutorials

AutoCAD PID Essential Training User videos
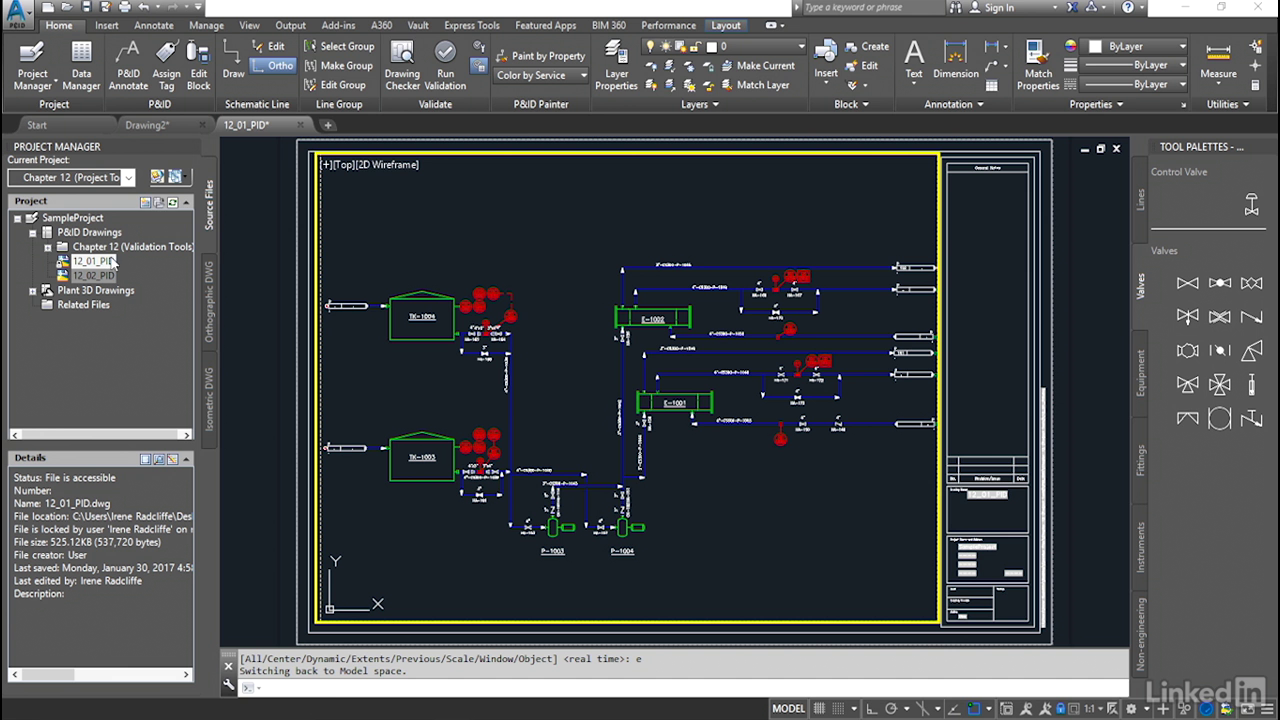
With AutoCAD P&ID software, you can quickly create, edit, and validate piping and instrumentation design information with AutoCAD-based editing tools. In this course, discover how to leverage this powerful software to create a project-based piping and instrumentation diagram. Instructor Irene Radcliffe walks through the desktop environment and goes into the basic functions of the program. She explains how to locate and open a P&ID project, use the Project Manager function to create a new drawing, and build a new drawing by adding equipment, pipe lines, valves, and instrumentation. Irene also helps you understand how tagging works in P&ID, as well as how to use the Data Manager to manage the project database.
CONTENTS(3h37m7s)
├── 001 Welcome.mp4
├── 002 What you should know.mp4
├── 003 How to use the exercise files.mp4
├── 004 Locating and opening your P&ID project.mp4
├── 005 Opening a P&ID drawing file.mp4
├── 006 Setting up the P&ID workspace.mp4
├── 007 Understanding the P&ID ribbon menu.mp4
├── 008 Understanding the P&ID tool palette.mp4
├── 009 Understanding Project Manager.mp4
├── 010 Using the AutoCAD Properties dialog box.mp4
├── 011 Using on-screen tools.mp4
├── 012 Creating a new P&ID drawing file.mp4
├── 013 Importing an existing P&ID file to the project.mp4
├── 014 Renaming drawing files.mp4
├── 015 Locating missing drawing files.mp4
├── 016 Updating drawing information using the Drawing Properties dialog box.mp4
├── 017 Inserting equipment and assigning tag information.mp4
├── 018 Copying equipment.mp4
├── 019 Adding annotation to your equipment.mp4
├── 020 Modifying existing P&ID blocks.mp4
├── 021 Understanding equipment tags and equipment InfoTags.mp4
├── 022 Understanding parent-child equipment tags.mp4
├── 023 Adding nozzles to your equipment drawing files.mp4
├── 024 Creating pipe lines and assigning tag lines.mp4
├── 025 Attaching and disconnecting pipe lines to a component.mp4
├── 026 Understanding the difference between line groups and line segments.mp4
├── 027 Adding and removing a pipe line to a line group.mp4
├── 028 Adding line segments to an existing pipe line.mp4
├── 029 Creating and removing a pipe line gap.mp4
├── 030 Reversing the flow of a pipe line.mp4
├── 031 Adding and removing corners to a pipe line.mp4
├── 032 Connecting and disconnecting pipe lines.mp4
├── 033 Changing your P&ID layout.mp4
├── 034 Inserting a valve on a pipe line.mp4
├── 035 Assigning tag information to your valve.mp4
├── 036 Substituting valve body types.mp4
├── 037 Moving a valve to a different pipe line.mp4
├── 038 Copying a valve.mp4
├── 039 Placing reducers on your pipe line.mp4
├── 040 Placing spec breaks or other segment breakers on your pipe line.mp4
├── 041 Adding instrumentation to your P&ID.mp4
├── 042 Placing control valves.mp4
├── 043 Understanding P&ID classes.mp4
├── 044 Creating a one-off P&ID symbol.mp4
├── 045 Adding and removing offpage connectors.mp4
├── 046 Creating connections between offpage connectors.mp4
├── 047 Understanding connection properties.mp4
├── 048 Understanding tagging concepts.mp4
├── 049 Finding existing tags.mp4
├── 050 Linking multiple symbols to a single tag.mp4
├── 051 Understanding the relationship between tag data and annotation.mp4
├── 052 Creating multiple annotations on a single component.mp4
├── 053 Data Manager overview.mp4
├── 054 Modifying tag data using Data Manager.mp4
├── 055 Using Data Manager filters.mp4
├── 056 Locating components in a P&ID drawing using Data Manager.mp4
├── 057 Importing and exporting data to Excel.mp4
├── 058 Generating a valve report from Data Manager reports.mp4
├── 059 Data Validation tool.mp4
├── 060 Auditing and compressing.mp4
├── 061 Exporting to AutoCAD.mp4
├── 062 Report Creator overview.mp4
├── 063 Next steps.mp4
└── AutoCAD_PID_EssT_User.zip
For download this video training course, please click to download sysmbol and complete your checkout to support a little bit to help my website is maintained. The download link will be appeared automatically after you complete your payment.

After you receive *.zip file, open it and open *.txt instruction’s file to see video for download instruction if you don’t know how to download.
All make sure you’ll get best services and we’ll help you any time when you get any problems. Don’t mind to contact admin: clickdown.org@gmail.com.
p/s: You also can request somethings which don’t have inside this website, we’ll try our best to them it for you.
Thank you.
